 もんちゃんブログ
この記事はweb制作を学んでいる際に、自分が調べて学べたことや、メンターさんに指導をもらったことを自分の復習としてまとめています。
Progateをやった後や、コーディングで悩んだ方の参考になれば嬉しいです。
また、他の方のブログ記事をたくさん記載させて頂いています。
いつも参考にさせていただいており、感謝いたします!!
学習中であり不完全なところも多くありますので、気になる所があれば先輩方にアドバイスをいただけると嬉しいです!
今回はメインクエリ、サブクエリを使用したループ表示、また検索ページやカテゴリー一覧など、サイドバーに表示されやすい項目のコーディング方法をまとめていきます。
メインクエリ・サブクエリのループ
いつもお世話になっている、アキユキさんのこちらの動画をご確認ください。
以下2つ、上記ページのコピペになります。
メインクエリでのループ
<ul>
 <?php if(have_posts()) : while(have_posts()) : the_post(); ?>
  <li>
   <div class="date"><?php echo get_the_date('Y.m.d'); ?></div>
   <div class="ttl"><?php the_title(); ?></div>
  </li>
 <?php endwhile; ?>
</ul>
<?php endif; ?>
サブクエリでのループ
<?php
$args = array( //リクエストを配列にまとめる
'post_type' => 'works', //出力したい投稿タイプを指定
'posts_per_page' => 10, //1ページあたりの表示件数
'paged' => $paged //現在のページ情報、ページャーをつける場合に必要
);
$the_query = new WP_Query($args);//WP_Queryという設計図に自分が定義した$argsをパラメーターとして入れることでオブジェクトを生成
?>
<ul>
 <?php  if($the_query->have_posts()) : while ($the_query->have_posts()): $the_query->the_post(); ?>
  <li>
   <div class="date"><?php echo get_the_date('Y.m.d'); ?></div>
   <div class="ttl"><?php the_title(); ?></div>
  </li>
 <?php endwhile; ?>
</ul>
<?php wp_reset_postdata(); ?>
<?php else: ?>
<?php endif; ?>
よく使う便利なコード
ループの中で、投稿の抜粋を表示するコード
<?php the_excerpt(); ?>
表示する文字数の変更(functions.phpに記載)
// コンテンツの文字数
<?php
function custom_excerpt_length( $length ) {
  return 30;	//ここで文字数を選択(この場合30文字)
}
add_filter( 'excerpt_length', 'custom_excerpt_length', 999 );
?>
文末に表示される[…]を消す(functions.phpに記載)
// コンテンツ[...]を消す
<?php
function new_excerpt_more($more) {
	return '';  //ここの''内に文字を入れると文字の変更も可能
}
add_filter('excerpt_more', 'new_excerpt_more');
?>
ループ内の順番を古い順にしたい
<?php
	$args = array(
	'post_type' => 'works', // 投稿タイプスラッグ
	'posts_per_page' => 3 //表示させる数
         'order' => 'ASC',//最低から最高へ昇順 (1, 2, 3; a, b, c).
         'orderby' => 'modified',//で、更新日順=>更新日が古い順
	);
	$the_query = new WP_Query($args); // データベースを検索して引っ張ってくる情報を作成($argsで必要な情報を配列にして渡している)
?>
orderとorderbyを変更することで、表示させる順番などを変更できます。
【おすすめ】UdemyでともすたさんのWordPress講座を学んでみる!! ![]()
![]()
広告
ループとページネーション
投稿一覧(archive.php)でのループとページネーション
ブログの投稿一覧など
参考サイト
https://min-web.com/wordpress-pagination-selfmade-plugin/
<div class="pagination">
            <div class="list-box">

                <?php
                $paged = (get_query_var('paged')) ? get_query_var('paged') : 1;
                $the_query = new WP_Query( array(
                    'post_status' => 'publish',
                    'post_type' => 'post', // ページの種類(例、page、post、カスタム投稿タイプ名)
                    'paged' => $paged,
                    'posts_per_page' => 5, // 表示件数
                    'orderby'     => 'date', //投稿日時が
                    'order' => 'DESC' //新しい順
                ) );
                if ($the_query->have_posts()) :
                    while ($the_query->have_posts()) : $the_query->the_post();
                    ?>
                <a href="<?php the_permalink(); ?>" class="blog-content-items-item container">
                  <div class="blog-content-items-item-img">
                    <?php if(has_post_thumbnail()): ?>
                    <img src="<?php the_post_thumbnail_url('large'); ?>" alt="">
                    <?php endif; ?>
                  </div>
                  <div class="blog-content-items-item-text">
                    <time><?php echo get_the_date('Y.m.d'); ?></time>
                    <h4><?php the_title(); ?></h4>
                    <p><?php the_excerpt(); ?></p>
                  </div>
                </a>
               <?php
                  endwhile;
                  else:
                  echo '<div><p>ありません。</p></div>';
                  endif;
                ?>
            </div>

            <div class="pnavi">
                <?php //ページリスト表示処理
                global $wp_rewrite;
                $paginate_base = get_pagenum_link(1);
                if(strpos($paginate_base, '?') || !$wp_rewrite->using_permalinks()){
                    $paginate_format = '';
                    $paginate_base = add_query_arg('paged','%#%');
                }else{
                    $paginate_format = (substr($paginate_base,-1,1) == '/' ? '' : '/') .
                    user_trailingslashit('page/%#%/','paged');
                    $paginate_base .= '%_%';
                }
                echo paginate_links(array(
                    'base' => $paginate_base,
                    'format' => $paginate_format,
                    'total' => $the_query->max_num_pages,
                    'mid_size' => 1,
                    'current' => ($paged ? $paged : 1),
                    'prev_text' => '<<', //数字の横の表示文字はここで変更可能
                    'next_text' => '>>',
                ));
                ?>
            </div>
          </div>
cssの変更
.pagination{
   margin:40px 0 0;
}
.nav-links{
   display:flex;
}
.pagination .page-numbers{
   display:inline-block;
   margin-right:5px;
   padding:1.5rem 2rem;
   color:#b5ad9b;  //数字の色
   border-radius:1rem;
   box-shadow:0 3px 3px #999;
   border: 1px solid #b5ad9b;
   background:#fff; //四角の色
}
.pagination .current{ //現在のページの
   padding:1.5rem 2rem;
   background::#b5ad9b;
   color:#fff;
}
.pagination .prev,
.pagination .next{ //数字の横の次、前の表示
   background:transparent;
   box-shadow:none;
   color::#b5ad9b;
}
.pagination .dots{
   background:transparent;
   box-shadow:none;
}
ページネーションイメージ

ブログ記事の表示と次、前のページ(single.phpなど)
 <!-- ループ -->
            <div class="pagination">
            <?php if ( have_posts() ): ?>
            <?php while ( have_posts() ) : the_post(); ?>
            <div class="blog-content-title">
              <time><?php echo get_the_date('Y.m.d'); ?></time> //日付
              <h4><?php the_title(); ?></h4> //タイトル
            </div>
            <?php if(has_post_thumbnail()): ?> //アイキャッチ(サムネイル)
            <img src="<?php the_post_thumbnail_url('large'); ?>" alt="">
            <?php endif; ?>
            <div class="single-content-text">
              <p><?php the_content();?></p> //投稿内容
            </div>

          </div>
        </section>
      </div>
      <div class="single-content-pagenation">
      <?php
          the_post_navigation( array(
            'prev_text' => '古い記事へ', //文字の変更可能
            'next_text' => '新しい記事へ',
          ) );
          ?>
      </div>
    </div>
    <?php endwhile; endif; ?>
cssの変更
.nav-previous, .nav-next {
    display: inline-block;
    width: (136/2000)*100vw;
    border: 1px solid #b5ad9b;
    border-radius: 1rem;
    padding: 0.5rem;
    margin-bottom: 16rem;
    margin-right: 1rem;
}
イメージ
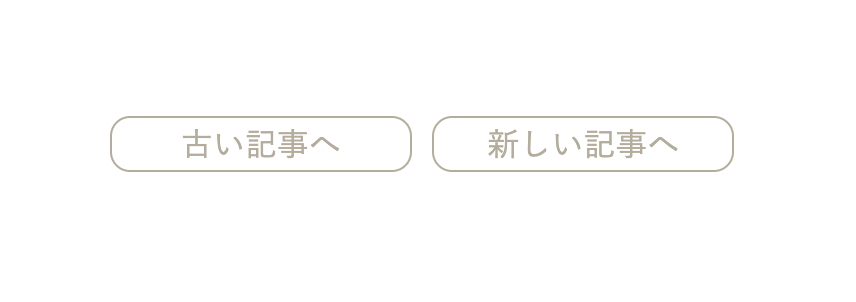
![]()
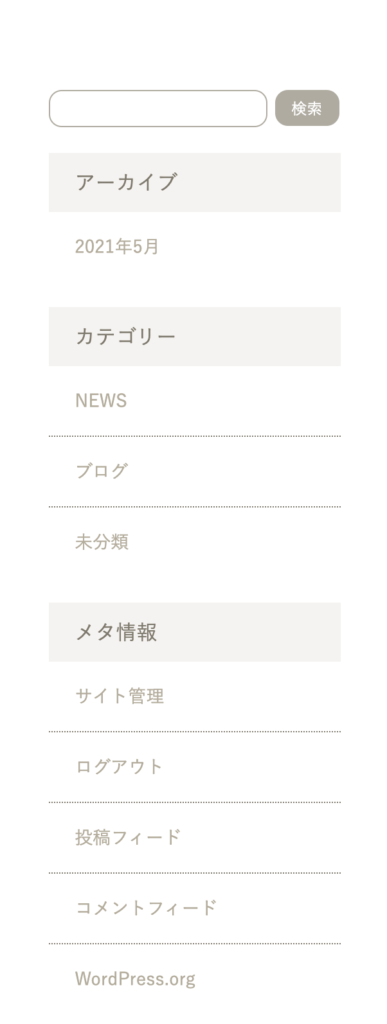
サイドバーの表示・ウィジェット
参考サイト
https://www.webdesignleaves.com/pr/wp/wp_widgets.html
ブログ投稿一覧などの右側によく見かけるやつです。
function.phpに記載(下記コードは2つ作成しています)
<?php
//サイドバー
function my_theme_widgets_init() {
  register_sidebar( array(
    'name' => 'search Sidebar', //名前は自分で決めてOK
    'id' => 'search-sidebar',
    'before_widget' => '<div class="blog-content-sidebar-search" id="search-sidebar">',
    'after_widget' => '</div>', //どのタグで囲むか指定ができます
  ) );

  register_sidebar( array(
    'name' => 'category Sidebar',
    'id' => 'category-sidebar',
    'before_widget' => '<div class="blog-content-sidebar-category">',
    'after_widget' => '</div>',
    'before_title' => '<p class="blog-content-sidebar-category-title">',
    'after_title'  => '</p>', //タイトルもどのタグで囲むか指定ができます
  ) );
}
add_action( 'widgets_init', 'my_theme_widgets_init' );
?>
表示させたいページのphpファイルにこのように記載すると表示されます。
<?php dynamic_sidebar('search-sidebar'); ?> //' 'は上記で記載したidになります
ワードプレス>ダッシュボード>外観>ウィジェットにこのように表示されます。
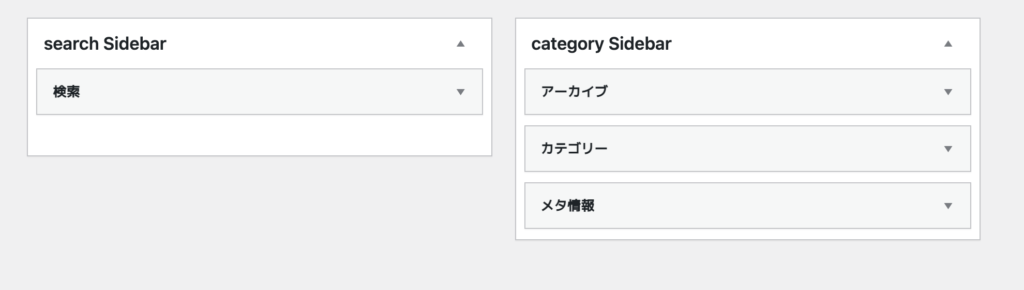
左側の利用できるウィジェット欄から、選択して追加をしてください。
これで検索機能やカテゴリー検索が可能になりました。
しかし、この検索結果を表示させるには新たにページを作成する必要があります。
検索結果は『search.php』
カテゴリー一覧ページは『category.php』
にて表示されます。
ブログ投稿一覧(archive.php)などと同じデザインであれば、まずはそのままコピペをしてください。
検索結果のページ
下記アンダーラインの部分を追加します。
また if(have_post())のところに&& get_search_query()を追記します。
<div class="list-box">
            <p class="search-text">「<?php the_search_query(); ?>」で検索した結果です。</p>
                <?php

                  if (have_posts() && get_search_query()) :
                    while (have_posts()) : the_post();
                    ?>
                <a href="<?php the_permalink(); ?>" class="blog-content-items-item container">
                  <div class="blog-content-items-item-img">
                    <?php if(has_post_thumbnail()): ?>
                    <img src="<?php the_post_thumbnail_url('large'); ?>" alt="">
                    <?php endif; ?>
                  </div>
                  <div class="blog-content-items-item-text">
                    <time><?php echo get_the_date('Y.m.d'); ?></time>
                    <h4><?php the_title(); ?></h4>
                    <p><?php the_excerpt(); ?></p>
                  </div>
                </a>
               <?php
                  endwhile;
                  else:
                  echo '<div><p>検索キーワードに該当する記事がありませんでした。</p></div>';
                  endif;
                ?>
            </div>
カテゴリー検索結果のページ
カテゴリーのタイトルは<?php single_cat_title(); ?>で呼び出します。
<p><?php single_cat_title(); ?>カテゴリー記事の一覧です</p>

<?php if(have_posts()): while(have_posts()):the_post(); ?>

  <h1><a href="<?php the_permalink(); ?>"><?php the_title(); ?></a></h1>

  <time datetime="<?php the_time('Y-m-d'); ?>"><?php the_time('Y.m.d'); ?></time>
  <p><?php the_category(', '); ?></p>
  <p><?php the_content('Read more'); ?></p>

<?php endwhile; endif; ?>
【おすすめ】UdemyでともすたさんのWordPress講座を学んでみる!! ![]()
![]()
まとめ
今回もCrowdWorksにて案件をいただくことができ、その作業の中での学びをまとめました。
WordPressの自作テーマ作成において必要な基本的な作業は身についてきたように感じます。
ただ、前回と今回でいまだに解決できなかったのが、
script.jsがトップページでのみ動き、下層ページでは動かなかったことです。
jQueryにてハンバーガーメニューを作成しており、トップページでは問題なく動くのですが、下層ページでは動きません。
jQueryも読み込まれており、その後にscript.jsの読み込みもされているのですが、動きませんでした…
footer内に直接コードを記載することで対応をしましたが…
この謎を解けるように、まだまだじっくり調べていきたいと思います。
最後まで読んでいただきありがとうございました。
![]()
広告